February 01, 2019
Faux Calligraphy Tutorial: 6 Simple Steps + Examples
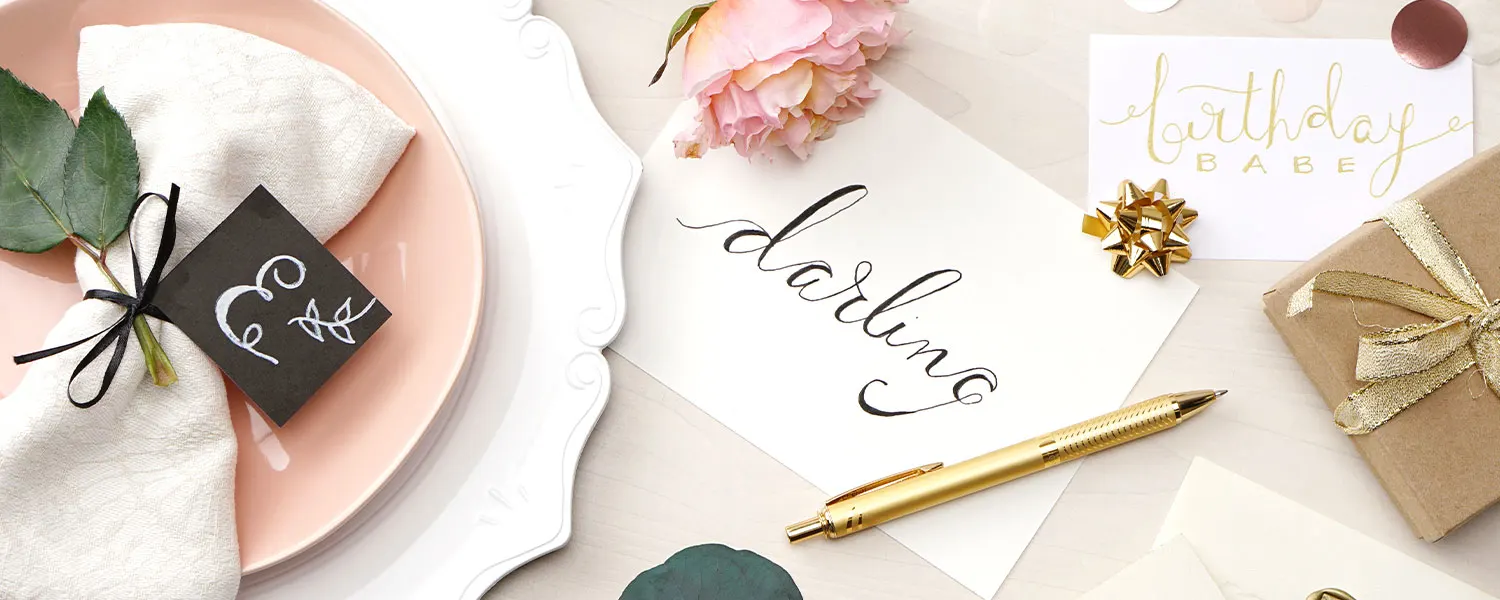

In a world that’s rapidly becoming more and more digital, the art of beautiful handwriting has become more and more rare. Rarity is one of the things that makes calligraphy so eye-catching and special. It is a classy and beautiful addition to cards, invitations, table place cards and other stationery.
Calligraphy is especially gorgeous in wedding decor, adding extra touches of warmth and sophistication to decorations and wedding stationery. The art of calligraphy takes time to master, time that a lot of us don’t have. You can still get that refined handwritten look by using a faux calligraphy technique that you can learn quickly and easily. Below you will learn how to fake calligraphy, what tools you should use as well as ideas and tips for different calligraphy styles.
What is Faux Calligraphy?
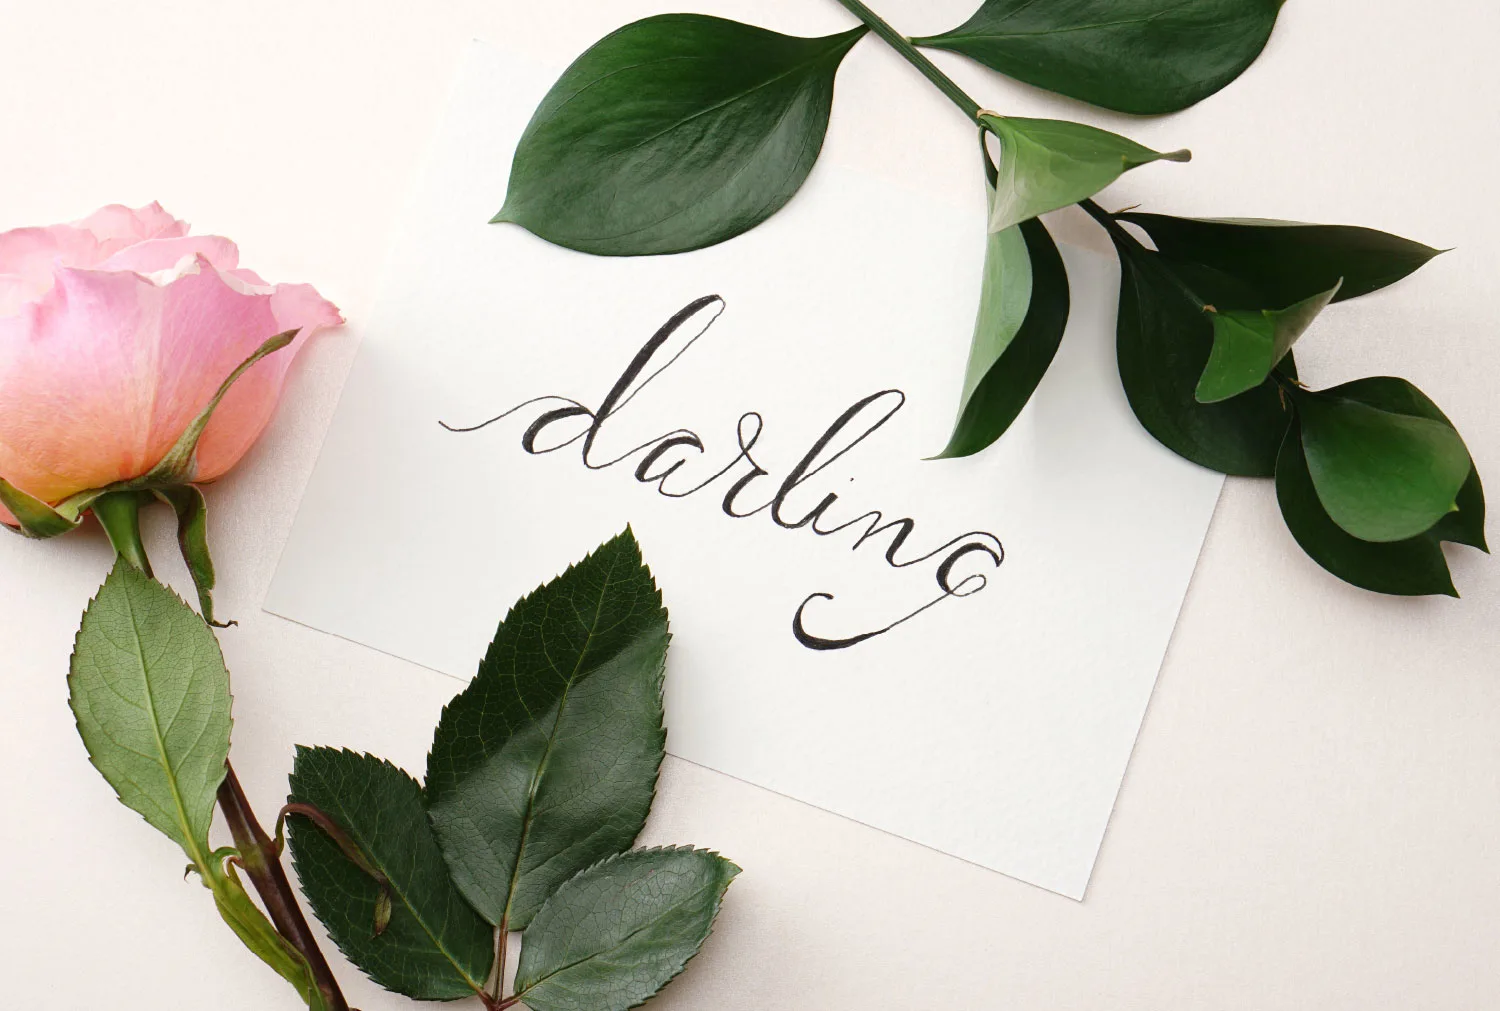
Faux calligraphy is created by going over certain parts of your text with bolder strokes and filling it in to create the look of real dip pen calligraphy. The dip pen calligraphy requires ink and a special pen holder with a nib, the metal tip that holds the ink. Learning calligraphy takes a lot more time than you’d think — before you can start writing letters you have to understand the different strokes and the effects they achieve. While this is a great skill to learn you may not have the time. If that is the case, then faux calligraphy is the way to go.
How to Fake Calligraphy
Cursive is the most popular calligraphy font because the curves and swirls give your text great depth and variety of thickness in the text. Calligraphy can be done on any font that you’d like, it’s all about how you vary the thickness within the text.
Shop Best Selling Flowers
Faux Calligraphy Materials
When learning how to fake calligraphy you’ll need to make sure you have the right supplies. Although you can use any pen or marker that you’d like, it’s best to start off with a pen that glides easily like a rollerball or gel pen. Different writing implements are best for certain fonts and it just depends on the look you’re going for.
A pen with a thinner tip will allow you to write smaller and in more complicated scripts. Thicker markers are better for serif and sans-serif fonts, they work with cursive fonts too but you need to allow a lot of space between letters so the words don’t get crowded and jumbled.
In addition to the pen, you’ll want to grab scrap paper, a pencil, quality paper that you’re using for the project and a ruler if you want to draw guidelines. It’s always best to practice and work out spacing a couple of times before writing on the final product.
Pen
Pencil
Eraser
Practice paper
Final project paper
Ruler (optional)
Step-by-step Faux Calligraphy
Once you have all the supplies that you need, it’s time to get started! Follow this step-by-step tutorial to create beautiful, stylish faux calligraphy.
Project time: 10–30 minutes
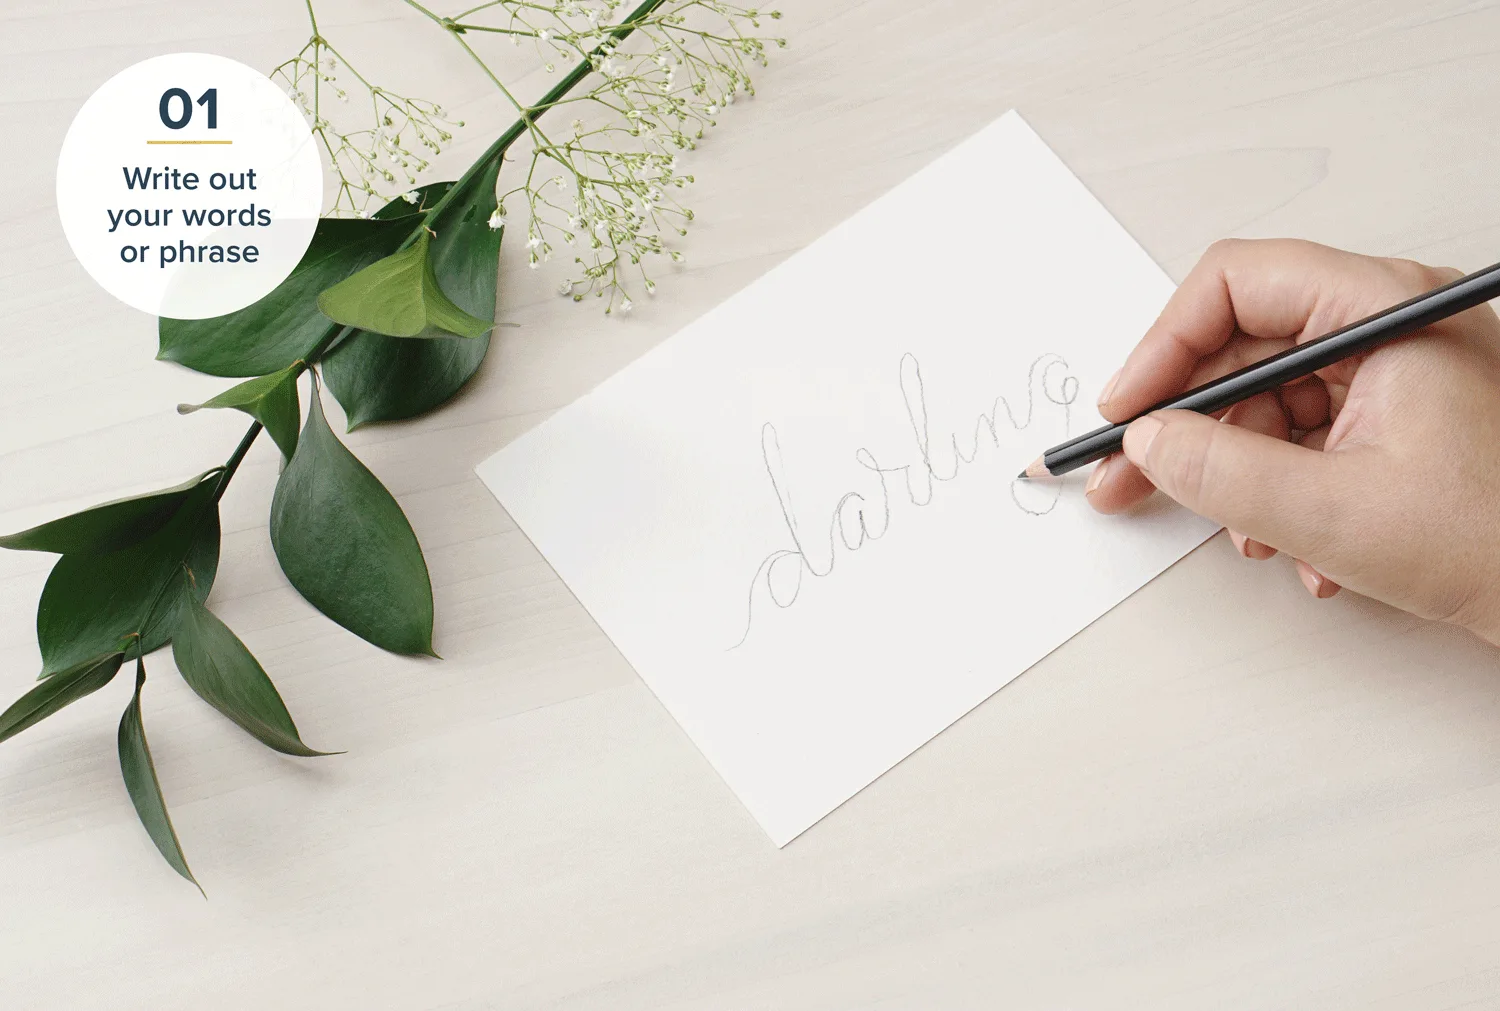
Step 1: Write your word or phrase.
Write out your word or phrase in your desired font. Be sure to leave a healthy amount of space between the letters because you’ll need to make thicker lines later. If you are writing a difficult phrase or are not as confident in your cursive, draw writing guidelines that help you keep your text straight and uniform in size. A light trace of the word in pencil should do the trick before going over it in pen.
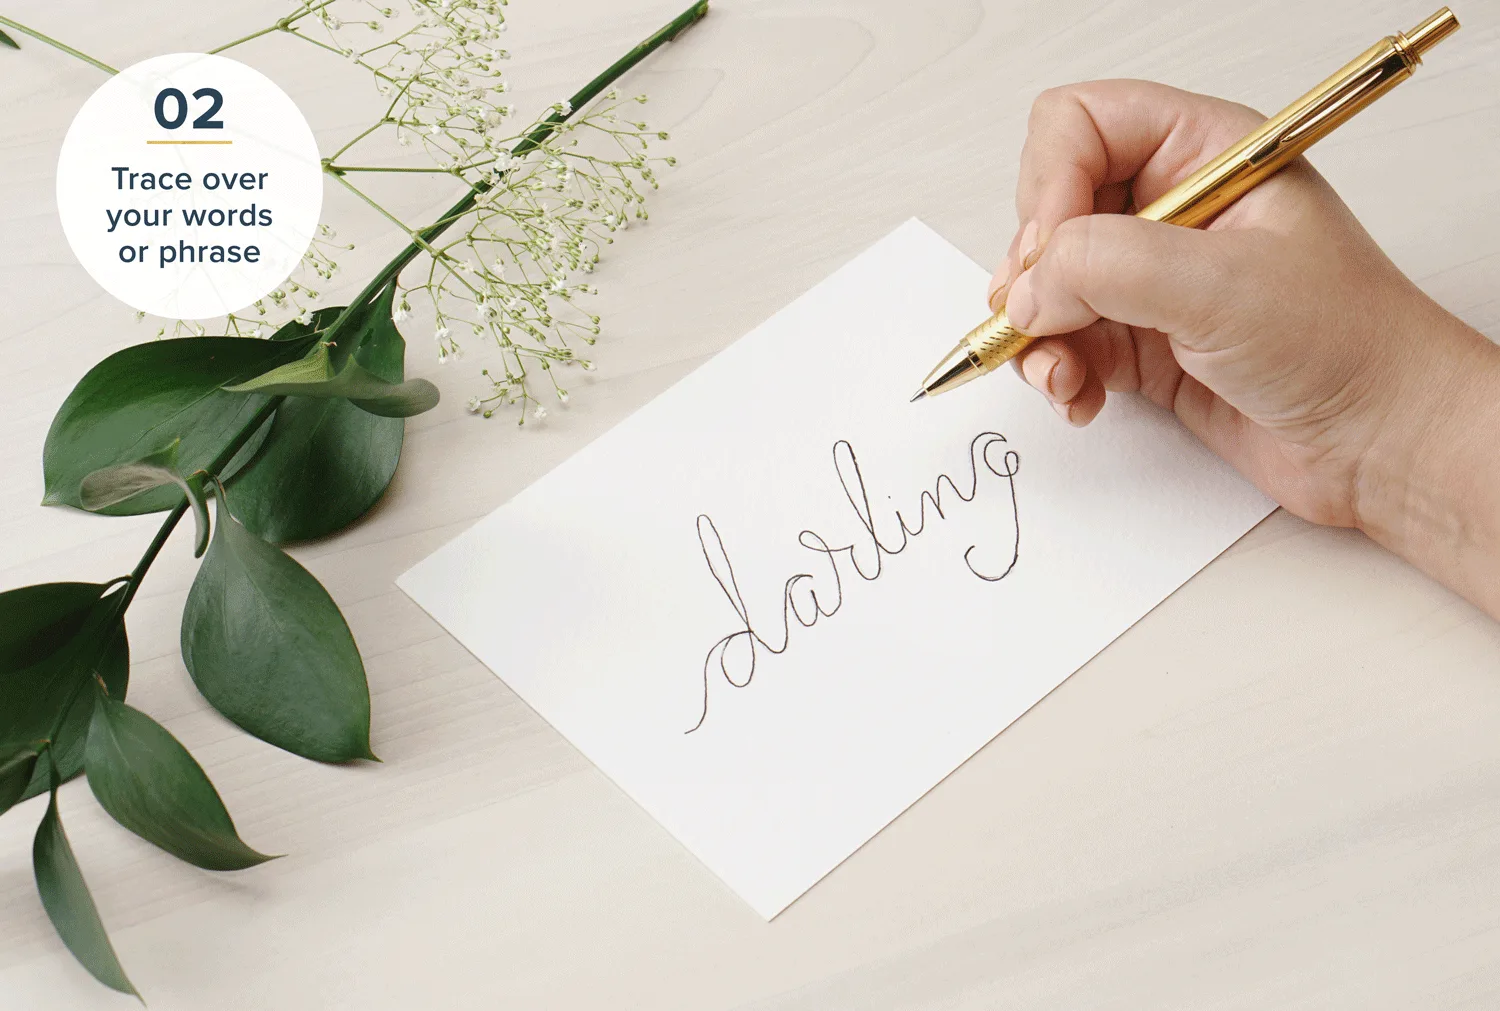
Step 2: Trace over the word or phrase.
Trace over your word or phrase to give it thicker lines. As you are going over your text to make it bolder, pay careful attention to when you’re using downstrokes and upstrokes. Downstrokes occur when your pen is moving from the top of a letter to the bottom and upstrokes occur when your pen goes bottom to top.
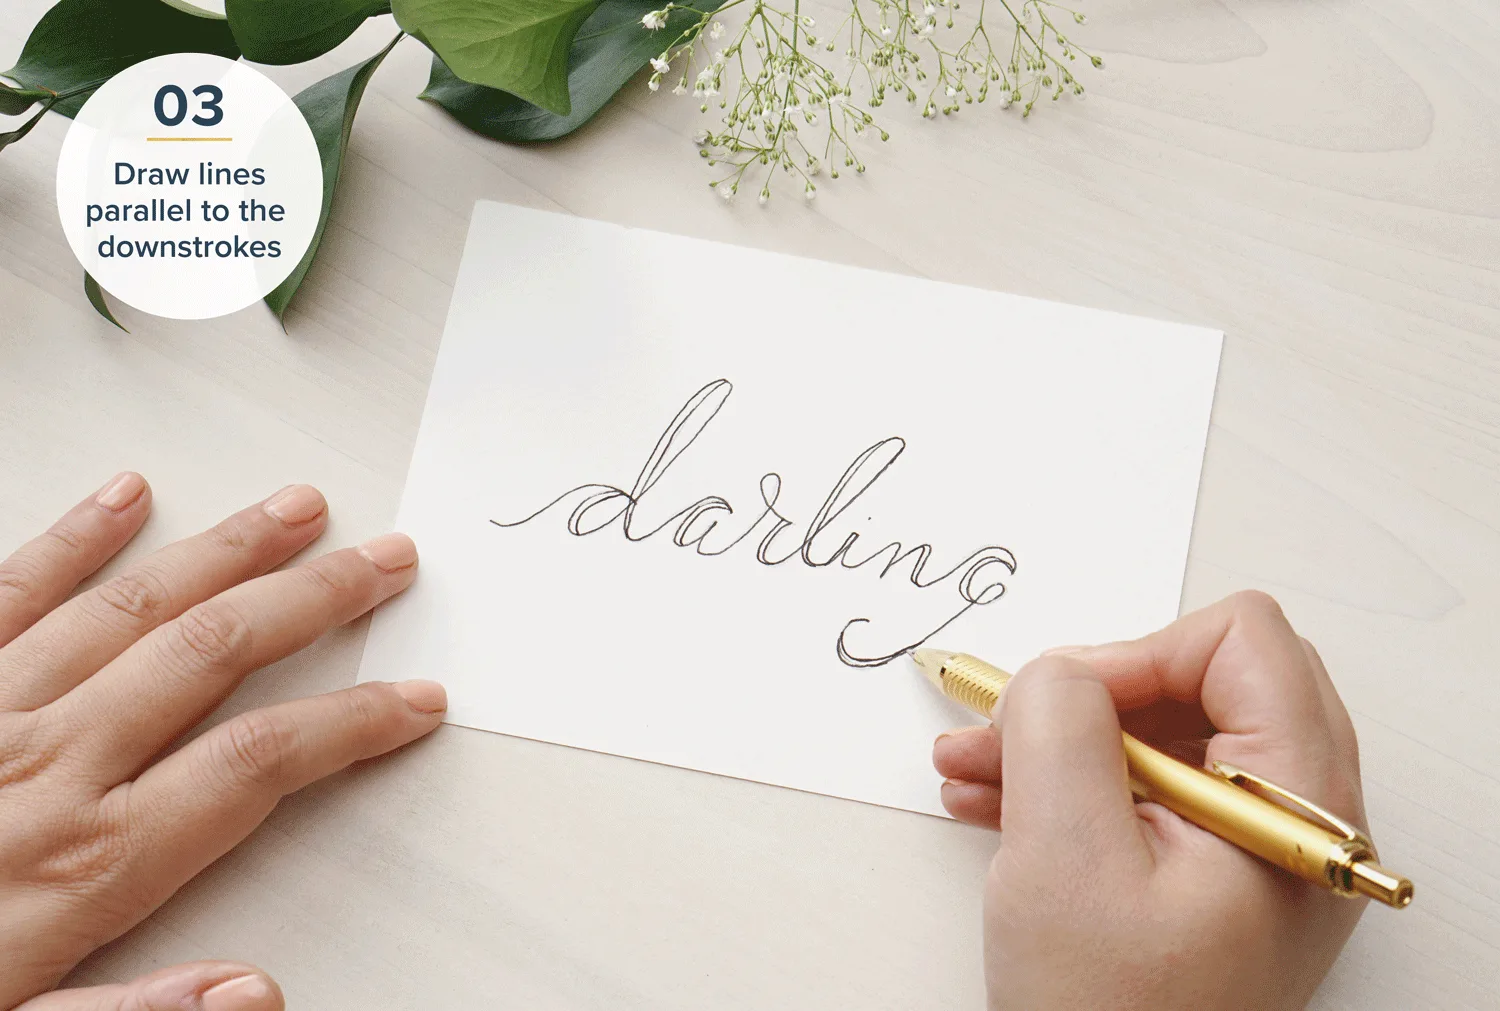
Step 3: Draw lines parallel to the downstrokes.
Go back through the text and add extra padding to the downstrokes. To do this draw parallel lines next to the downstrokes and taper the parallel lines off into the rest of the letter so it blends naturally.
Pro Tip: Try and keep your downstroke contours on the same side, unless there isn’t space next to a certain letter.
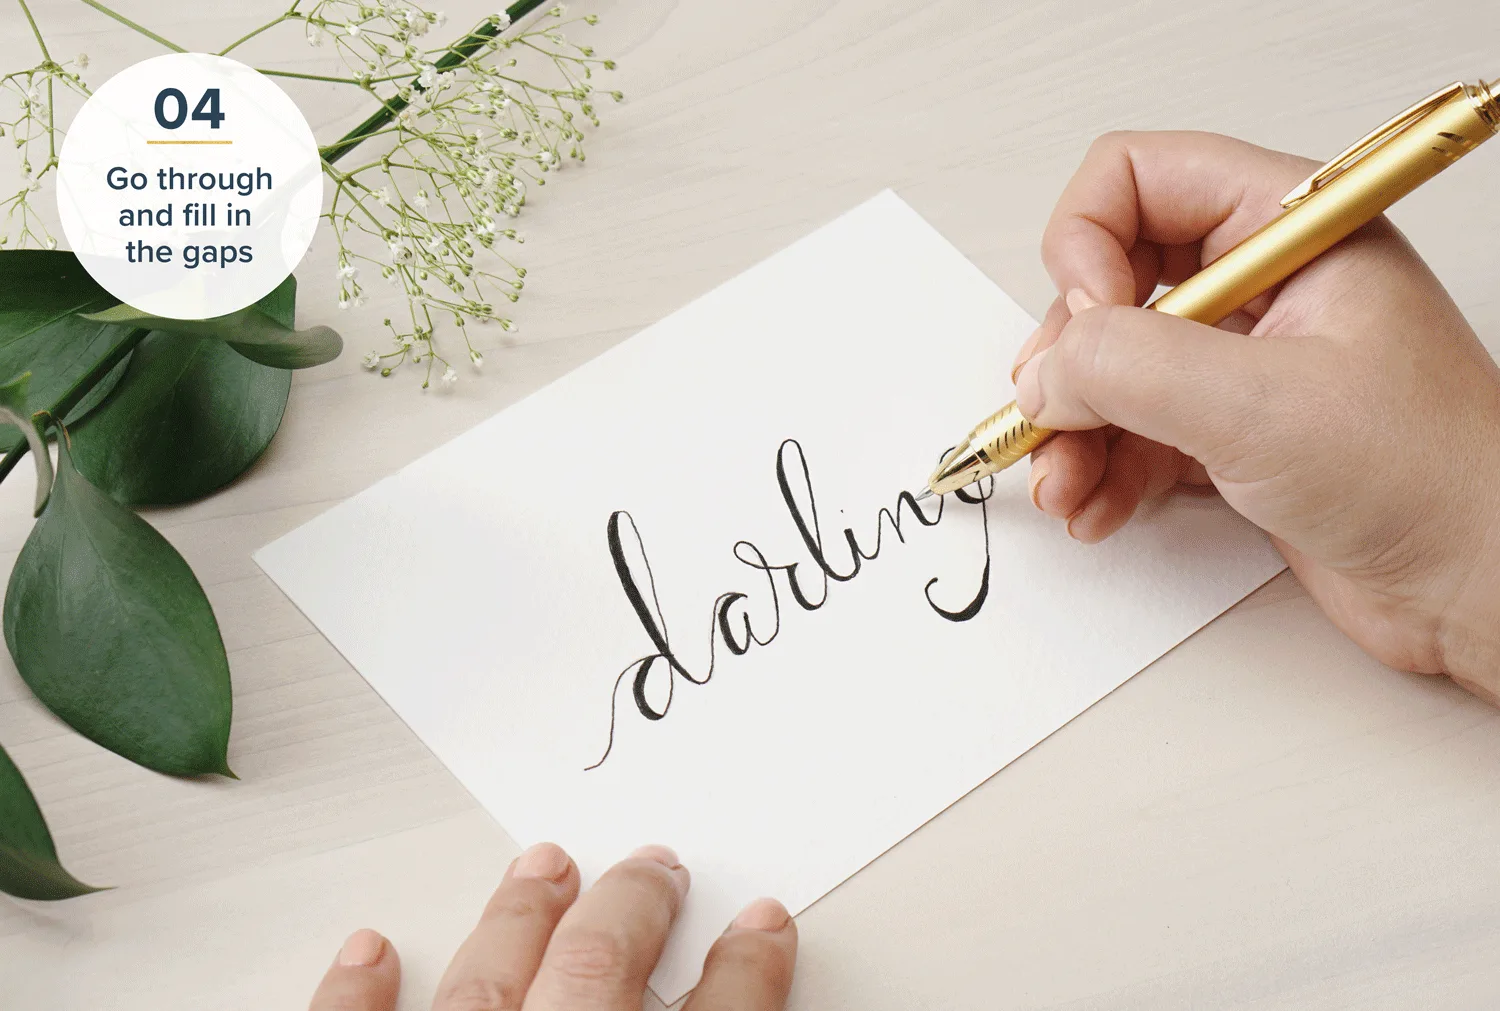
Step 4: Fill in the gaps.
Color in the space between the parallel lines and original text. This should give the weighted effect that dip pen calligraphy has.
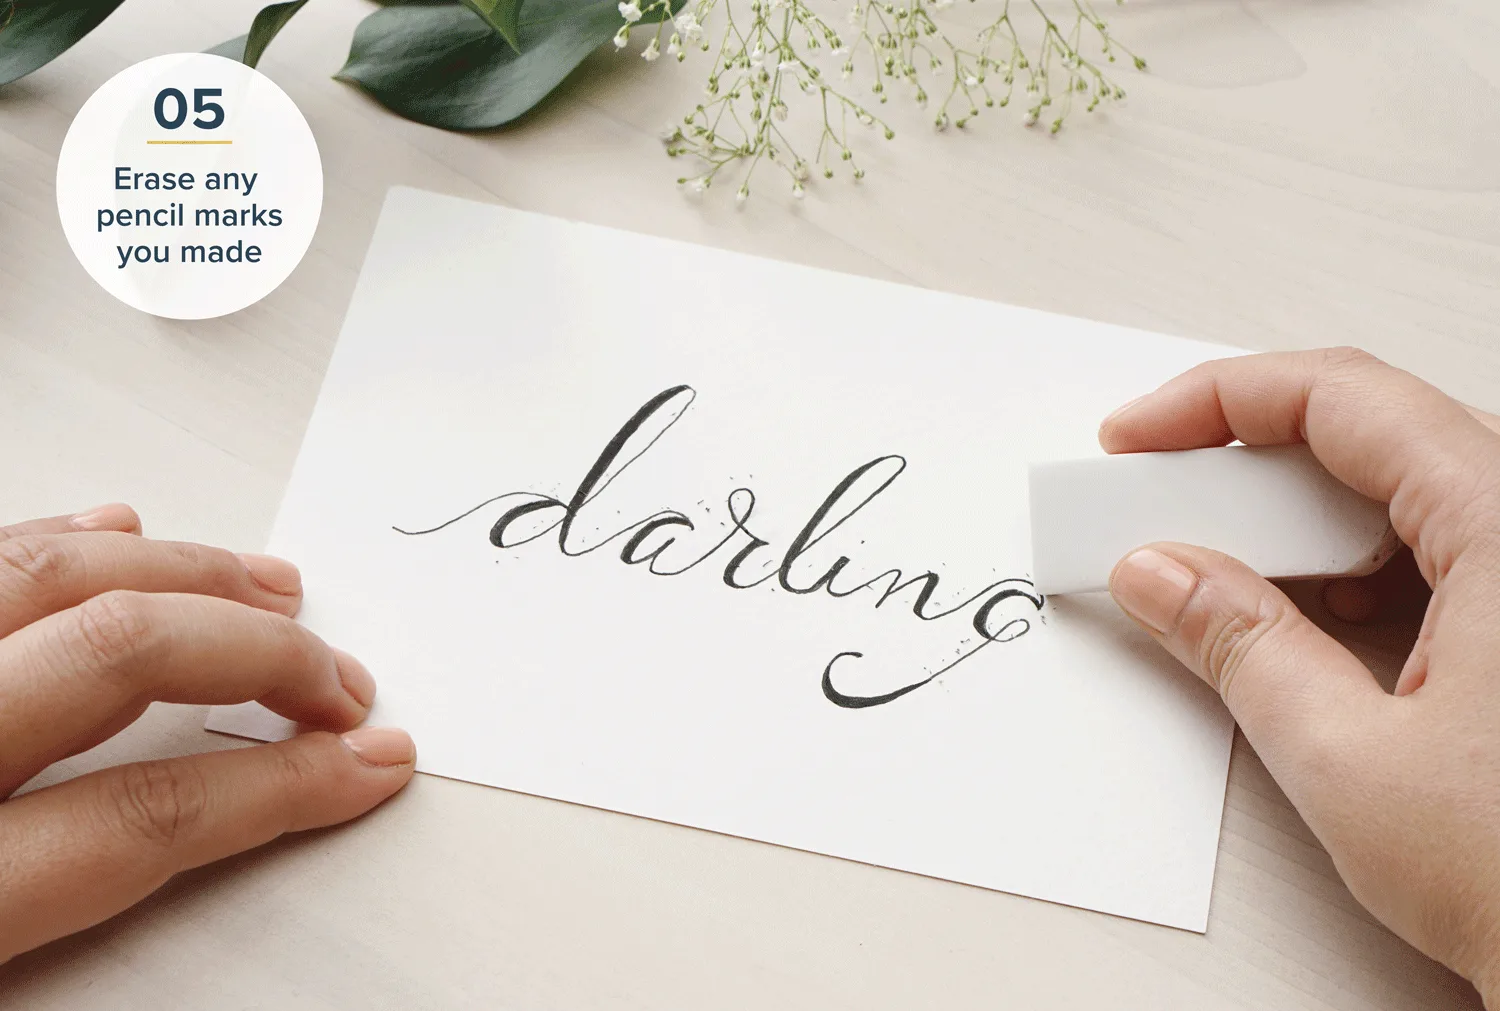
Step 5: Touch up lines and erase any pencil marks.
Look over your faux calligraphy and make sure to fill in any gaps or fix any unnatural looking tapers. Also, take an eraser and go back through and erase any residual guideline or tracing pencil marks. Make sure to use a quality eraser and let the ink dry before you erase any pencil marks.
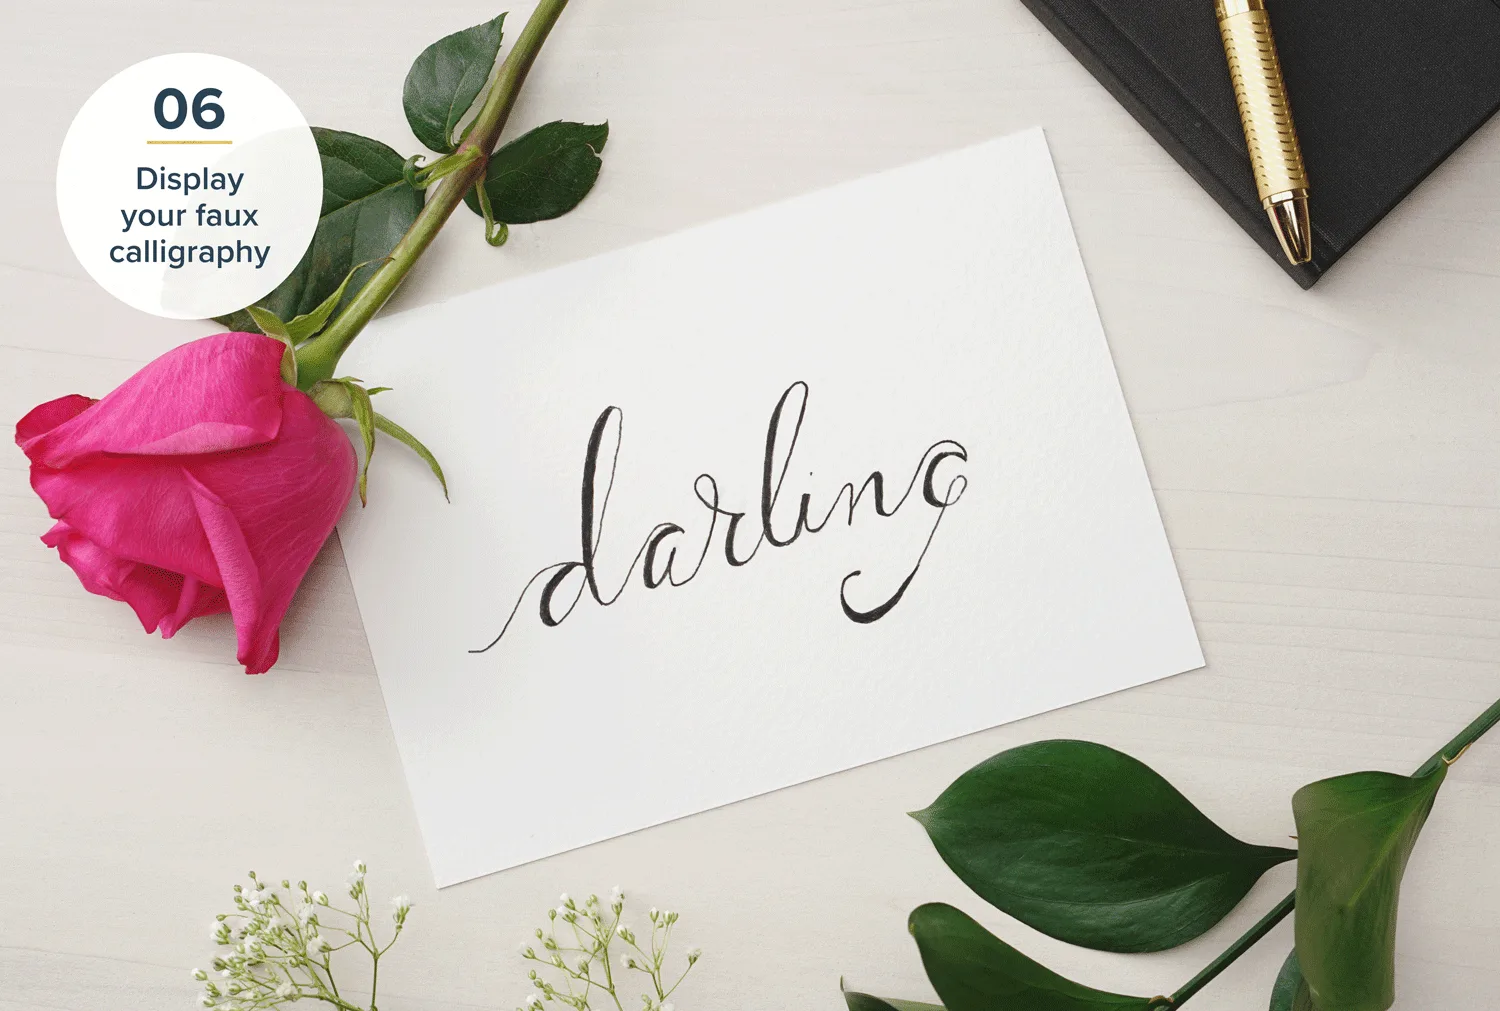
Step 6: Display your faux calligraphy!
Once you’ve completed your project, show it off! If you created a birthday or anniversary card, accompany the card with a fresh bouquet or a sweet treat. If you created faux calligraphy wall art, frame it with a contrasting frame and display your new art.
Faux Calligraphy Styles and Inspiration
Looking for faux calligraphy project inspiration? From weddings and birthdays to everyday occasions, these ideas are great inspiration for your next faux calligraphy craft.
Birthday Card Calligraphy

Homemade cards are so much more personal than a generic store-bought card. Try writing a personalized message or happy birthday quote on the front of the card using fake calligraphy. A card with custom calligraphy is also a great idea for anniversaries and Valentine’s Day.
Pro tip: pair your custom calligraphy card with a beautiful bouquet and a printable bouquet wrap.
Wedding Place Card Calligraphy
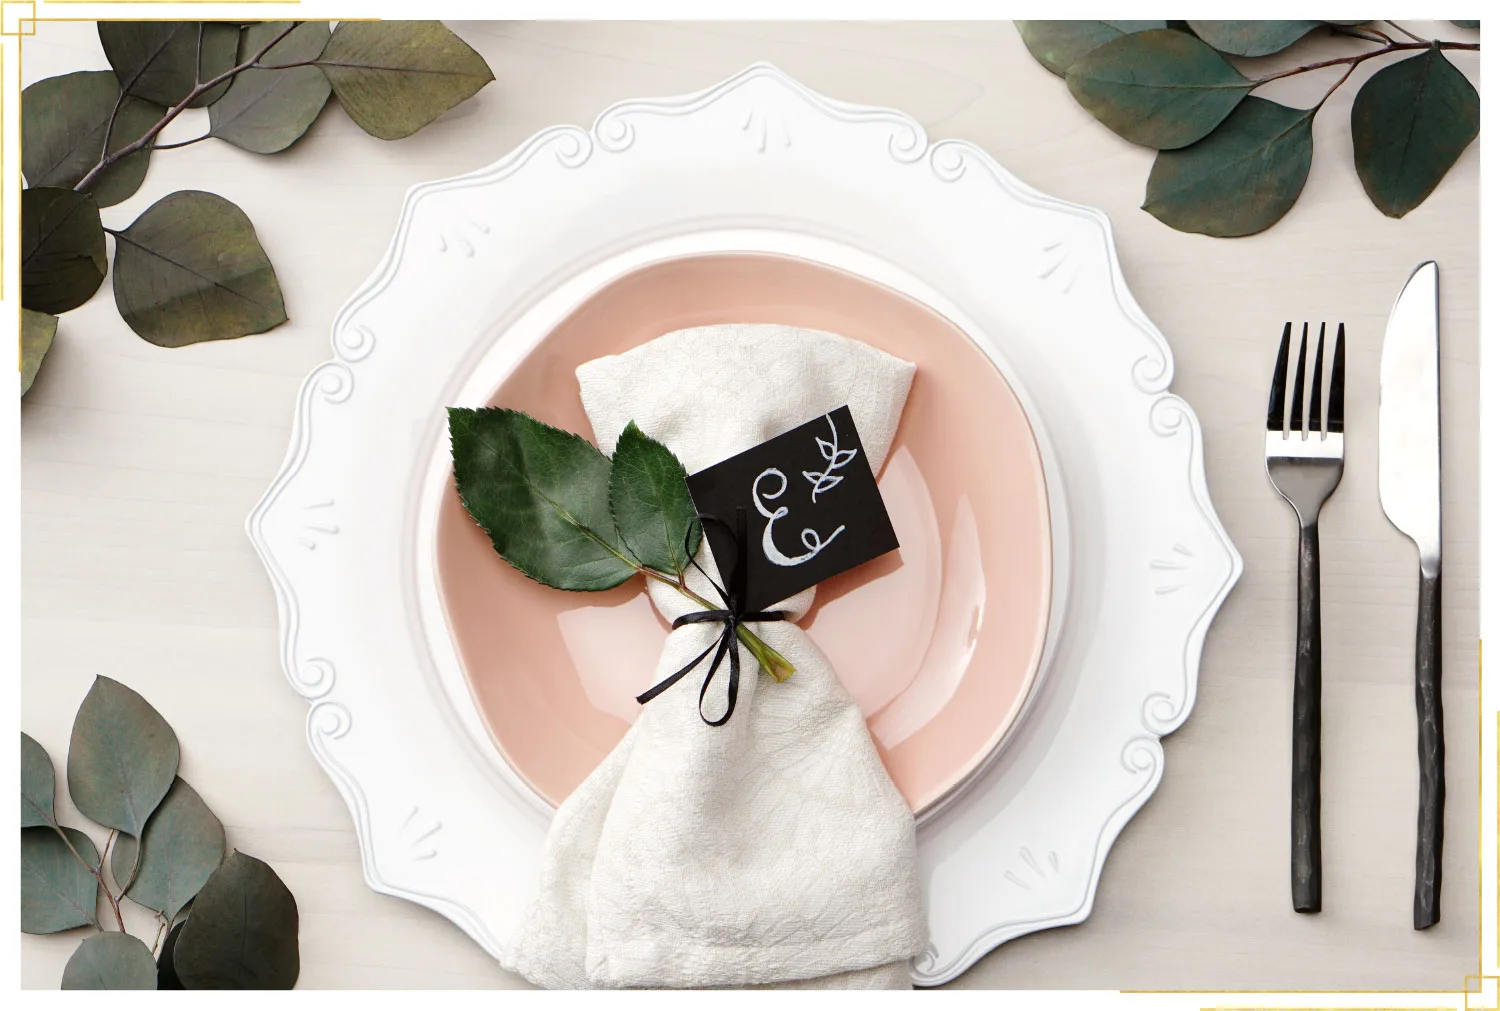
Calligraphy is a great addition to wedding decor and stationery. Dress up your decor, place cards or signs with gorgeous calligraphy at the reception or ceremony.
Pro tip: if you like the chalkboard look, faux calligraphy can be achieved with chalk or a chalkboard pen.
Invitation + Envelope Calligraphy
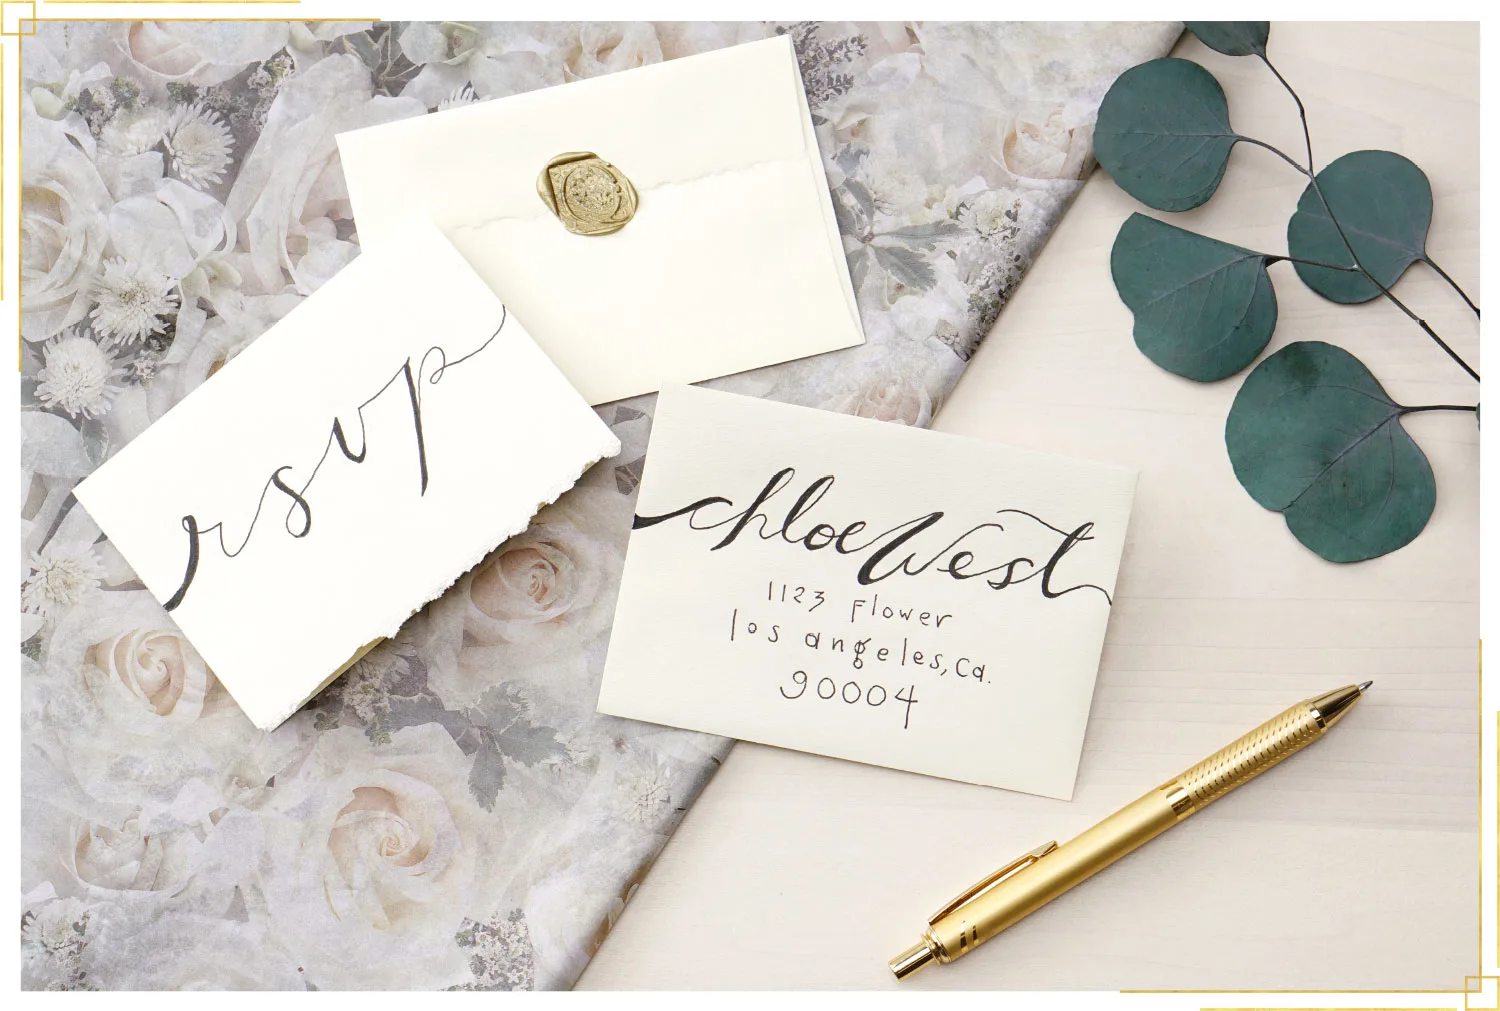
Set the mood and tone of your event by adding calligraphy to the envelope and invitation. An envelope with calligraphy is sure to stand out against clutter and junk mail. If you’re creating a save the date for your wedding or event, your guest is much more likely to hold on to a handwritten save the date or personalized invitation.
Pro tip: this works best for a small guest list, if you want to create calligraphy invitations for a larger event, you may need to enlist some friends to help you get them completed.
Framed Art Calligraphy
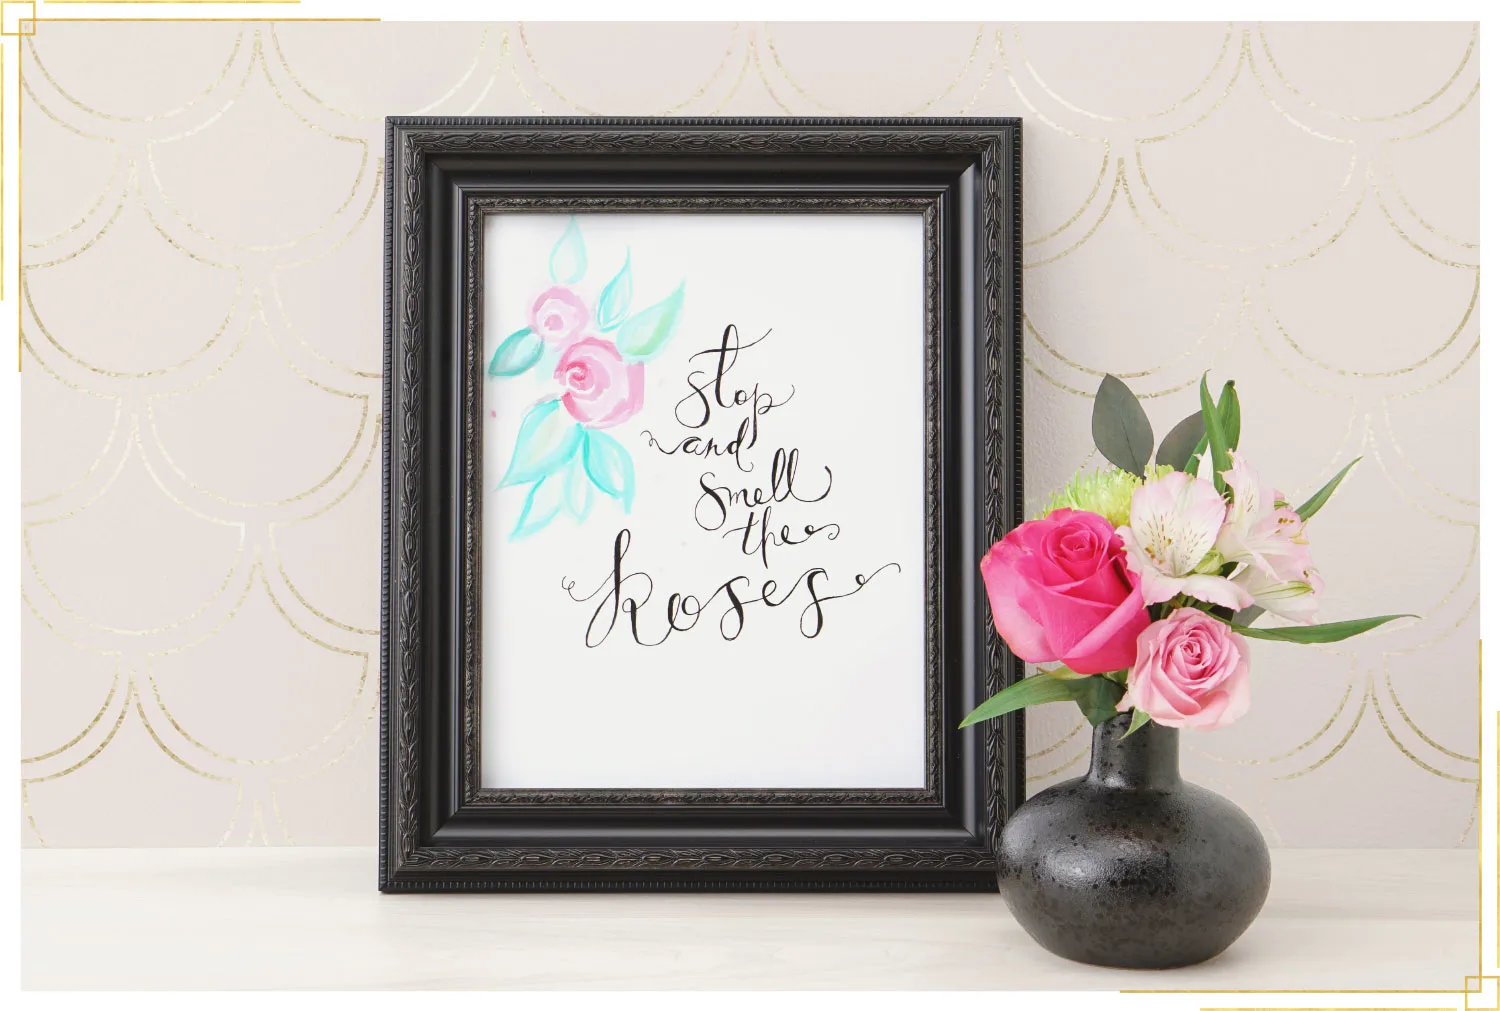
Do you have a saying or an inspirational quote that you’d love to have on your wall? Create your own wall decor using faux calligraphy. For a beautiful photo backdrop, create a DIY flower wall and make cute signs with calligraphy.
Pro tip: draw your text on watercolor paper and once the waterproof ink is dry, paint your wall art. Once your masterpiece is dry, it’s time to frame your art and hang it and frame your art.
Resources + Tips to Make Your Faux Calligraphy Pop
There are many different ways to create stand out faux calligraphy, consider these pro tips when planning out the details of your fake calligraphy project.
Avoid mixing too many fonts to avoid a cluttered feeling.
Using a maximum of 2–3 fonts in a single project is a good rule of thumb.
To get a better contrast between lines of text, try varying the boldness and colo
r of the text. To achieve this use pens with varying thickness or trace over certain words or phrases.
Make sure to space out letters and words
so your calligraphy doesn’t feel cramped once you’ve thickened the downstrokes.
Practice makes perfect
—improve your handwriting to create better faux calligraphy. Try practicing different fonts when writing in your planner or journal.
If you want to save our step-by-step tutorial and faux calligraphy inspiration, download the comprehensive infographic below!
Click the download button below for an upper case and lower case cursive calligraphy letter tracing practice sheet.

Calligraphy is a beautiful way to add personalization and sophistication to any of your projects and faux calligraphy makes that sought-after look accessible to anyone. Handwritten thank you cards are a must and calligraphy takes them a step further. For your wedding party or parents, try incorporating calligraphy to the wedding favors and thank you’s to add a personal touch. If you have any questions or comments about creating fake calligraphy, leave us a note in the comment section below!
